標註網頁瀏覽智慧體:從 WebArena 軌跡到人工評測
如何用 Potato 的網頁智慧體軌跡展示來評測自主網頁瀏覽智慧體,包含逐步截圖、SVG 覆蓋層和逐步標註方案。
網頁瀏覽智慧體所處的模態與基於文本的智慧體不同。它們在真實網頁上導航、點選按鈕、填寫表單、滾動頁面。要評測這樣一個智慧體,你需要看到智慧體看到了什麼(頁面狀態)和它做了什麼(執行的動作),最好還帶一層標出它究竟點在哪裡的覆蓋層。
Potato 的網頁智慧體軌跡展示正是為此而建。它渲染整頁截圖併疊加 SVG 動作覆蓋層,提供一條便於快速導航的膠片條,並讓你逐步給動作正確性打分。完整配置參考見源文件。
本指南以評測 WebArena 軌跡為例,但同樣的做法也適用於 VisualWebArena、原始瀏覽器錄製,以及其他網頁智慧體格式。
前置條件
pip install potato-annotation你需要準備 WebArena 的軌跡檔案,它們通常是截圖加上一份 JSON 動作日誌。VisualWebArena 使用類似的格式,有時還附帶額外的視覺定位資訊。
第 1 步:理解 WebArena 軌跡格式
一條 WebArena 軌跡是每個回合一個 JSON 檔案,其中包含任務描述、動作序列和截圖路徑。下面是一個精簡過的例子。
建立 data/web_traces.jsonl:
{
  "trace_id": "wa_001",
  "task": "Find the cheapest laptop on the electronics store and add it to the cart",
  "website": "shopping",
  "steps": [
    {
      "step": 0,
      "url": "http://shop.example.com/",
      "action_type": "click",
      "action_target": "Electronics category link",
      "element_id": "nav-electronics",
      "coordinates": [245, 82],
      "screenshot": "screenshots/wa_001_step_00.png",
      "dom_snapshot": "dom/wa_001_step_00.html"
    },
    {
      "step": 1,
      "url": "http://shop.example.com/electronics",
      "action_type": "click",
      "action_target": "Laptops subcategory",
      "element_id": "cat-laptops",
      "coordinates": [180, 310],
      "screenshot": "screenshots/wa_001_step_01.png"
    },
    {
      "step": 2,
      "url": "http://shop.example.com/electronics/laptops",
      "action_type": "click",
      "action_target": "Sort by: Price Low to High",
      "element_id": "sort-price-asc",
      "coordinates": [720, 155],
      "screenshot": "screenshots/wa_001_step_02.png"
    },
    {
      "step": 3,
      "url": "http://shop.example.com/electronics/laptops?sort=price_asc",
      "action_type": "click",
      "action_target": "First laptop: 'Budget Pro 14' - $349",
      "element_id": "product-101",
      "coordinates": [400, 380],
      "screenshot": "screenshots/wa_001_step_03.png"
    },
    {
      "step": 4,
      "url": "http://shop.example.com/product/101",
      "action_type": "click",
      "action_target": "Add to Cart button",
      "element_id": "add-to-cart-btn",
      "coordinates": [650, 520],
      "screenshot": "screenshots/wa_001_step_04.png"
    }
  ],
  "success": true,
  "final_screenshot": "screenshots/wa_001_final.png"
}
每一步都帶有一張截圖、所執行的動作、目標元素和點選座標。Potato 的視覺化覆蓋層就是由這些資訊繪製的。
第 2 步:配置項目
建立 config.yaml:
annotation_task_name: "WebArena Agent Evaluation"
task_dir: "."

data_files:
  - "data/web_traces.jsonl"

item_properties:
  id_key: trace_id
  text_key: task

# --- Agentic annotation with web display ---
agentic:
  enabled: true
  trace_converter: webarena
  display_type: web_agent

  web_agent_display:
    # Screenshot rendering
    screenshot_max_width: 900
    screenshot_quality: 85

    # SVG overlays
    overlay:
      enabled: true
      click_marker: "circle"
      click_color: "#ef4444"
      click_radius: 20
      type_highlight: "#3b82f6"
      scroll_indicator: true

    # Filmstrip navigation
    filmstrip:
      enabled: true
      thumbnail_width: 150
      show_action_labels: true

    # Additional display options
    show_url_bar: true
    show_action_description: true
    show_dom_snapshot: false

# --- Annotation Schemas ---
annotation_schemes:
  # Overall task evaluation
  - annotation_type: radio
    name: task_success
    description: "Did the agent complete the task successfully?"
    labels:
      - "Success"
      - "Partial Success"
      - "Failure"
    label_requirement:
      required: true

  - annotation_type: radio
    name: task_efficiency
    description: "Was the agent's navigation path efficient?"
    labels:
      - "Optimal path"
      - "Reasonable but not optimal"
      - "Inefficient (unnecessary steps)"
      - "Completely wrong direction"
    label_requirement:
      required: true

  # Per-step evaluation
  - annotation_type: trajectory_eval
    name: action_correctness
    steps_key: agentic_steps
    description: "Was this action correct?"
    correctness_options:
      - "Correct"
      - "Acceptable (not optimal but progresses toward goal)"
      - "Incorrect"
      - "Unnecessary"

  - annotation_type: trajectory_eval
    name: action_error_type
    steps_key: agentic_steps
    description: "What went wrong?"
    correctness_options:
      - "Wrong element clicked"
      - "Wrong page navigated to"
      - "Missed a closer/better option"
      - "Incorrect form input"
      - "Premature task completion"
      - "Unnecessary navigation"
      - "Failed to scroll to target"
      - "Interaction with wrong page section"
      - "Other"
  - annotation_type: trajectory_eval
    name: action_notes
    steps_key: agentic_steps
    description: "Notes on this step"

output_annotation_dir: "output/"
export_annotation_format: "jsonl"

parquet_export:
  enabled: true
  output_dir: "output/parquet/"
第 3 步:理解網頁智慧體展示
網頁智慧體軌跡檢視器會渲染截圖,並用 SVG 覆蓋層標出點選目標和導航路徑:
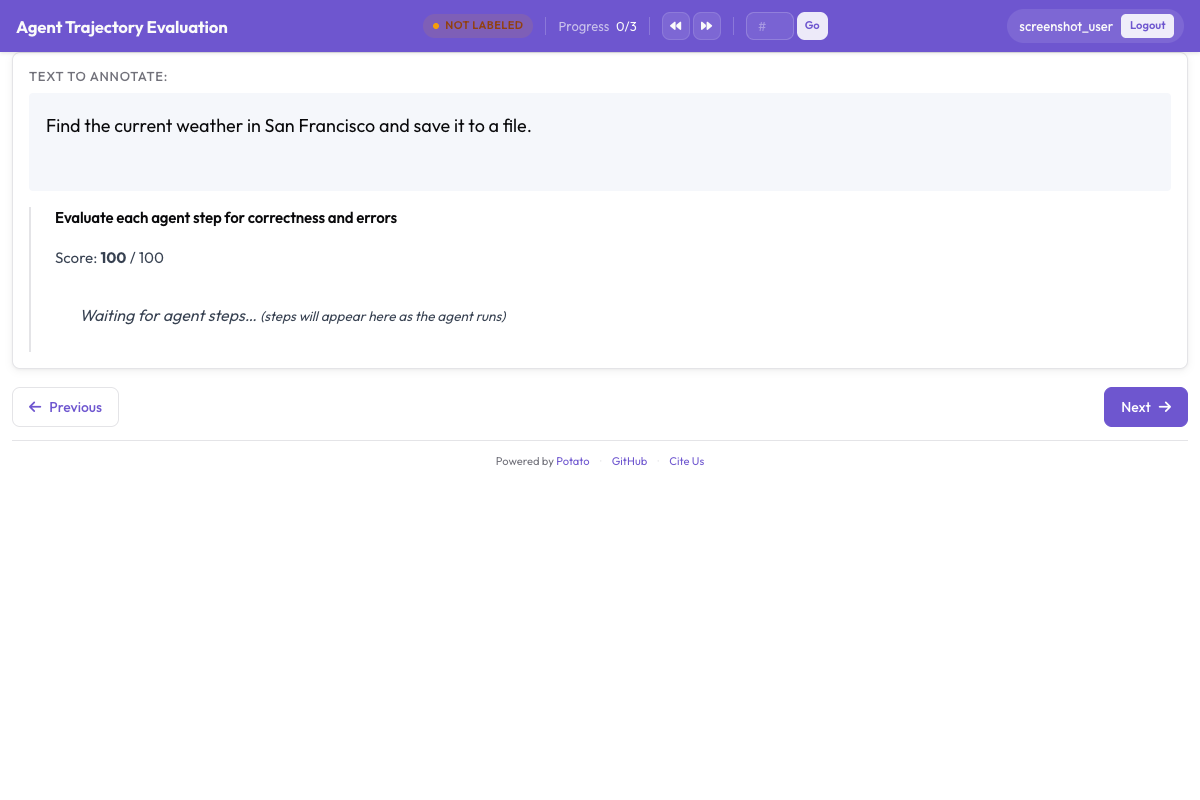
主截圖檢視
當前步驟的截圖以全寬顯示(最大 900px),上面疊加一層 SVG:
- 紅色圓圈位於點選座標處,標出智慧體究竟點在哪裡
- 藍色高亮圍繞智慧體輸入過文字的文本框
- 箭頭指示用於滾動動作,顯示方向和幅度
截圖下方會顯示:
- 位址列顯示該步驟的頁面 URL
- 動作描述(例如"在座標 [245, 82] 處點選'Electronics category link'")
膠片條
底部的橫向膠片條會顯示每張截圖的縮圖,每張都帶一個標明動作類型(點選、輸入、滾動)的小標籤。點選任意縮圖即可跳到對應步驟。
在較長的軌跡(10 步以上)上,膠片條的價值就體現出來了,因為在主視圖裡一路滾動會很繁瑣。
逐步標註
逐步標註的控制元件就放在每張截圖旁邊。給動作打分,如果判為錯誤,再選擇錯誤類型。
第 4 步:標註工作流
走一遍網頁智慧體軌跡的典型流程:
-
閱讀任務描述。 弄清智慧體本應完成什麼。
-
用膠片條通覽全域。 在逐步打分之前,先快速掃一遍所有截圖,對智慧體的軌跡有個整體印象。
-
逐步檢視:
- 看截圖,理解頁面狀態
- 看 SVG 覆蓋層,確認智慧體點了什麼
- 讀動作描述
- 把動作評為正確、可接受、錯誤或多餘
- 如果判為錯誤,選擇錯誤類型(可多選)
-
給整條軌跡打分。 檢視完所有步驟後,評價任務成功度和效率。
-
提交,然後進入下一條軌跡。
該看什麼
正確的動作以合理的方式推進目標:點對了元素、到對了頁面,或輸入了正確的資訊。
可接受的動作並非最優,但仍在推進。比如智慧體不用搜索框,而是一層層瀏覽到分類頁。慢一些,但管用。
錯誤的動作就是失誤:點錯元素、進了無關頁面,或在表單裡填錯文字。
多餘的動作不會推進目標:點一下又立刻退回、滾過了目標,或者晃到無關緊要的頁面上。
第 5 步:錯誤分類體系
Potato 附帶一套為網頁智慧體動作設計的錯誤分類體系。各類別的適用情形如下:
| 錯誤類型 | 說明 | 示例 |
|---|---|---|
| 點錯元素 | 智慧體點選了錯誤的介面元素 | 點了"Tablets"而不是"Laptops" |
| 導航到錯誤頁面 | 智慧體最終停在了無關頁面上 | 進了"About Us"而不是商品列表 |
| 錯過了更近/更好的選項 | 當時存在更優的動作 | 用分類瀏覽而沒用搜索框 |
| 表單輸入錯誤 | 智慧體在表單中填了錯誤文字 | 搜尋"labtop"而不是"laptop" |
| 過早宣告完成 | 智慧體太早認定任務成功 | 把錯的商品加進購物車就停了 |
| 多餘的導航 | 該步驟對目標沒有貢獻 | 在兩個分類頁之間又回了一趟首頁 |
| 未滾動到目標 | 目標位於視口下方 | 元素不可見,智慧體本應滾動頁面 |
| 操作了頁面的錯誤區域 | 頁面對了但區域錯了 | 點了頁頭而不是主體內容 |
第 6 步:處理複雜軌跡
長軌跡(15 步以上)
在長軌跡上,先用膠片條找出可疑的步驟。留意這些跡象:
- URL 發生意外變化的步驟(導航錯誤)
- 智慧體看起來在往回走的步驟
- 連續出現幾乎相同的截圖(智慧體陷入迴圈)
然後把詳細標註的精力集中在這些步驟上。
失敗的軌跡
當智慧體失敗時,找出第一個錯誤的步驟。這對改進智慧體來說是最有價值的標註。把它清楚地標出來,並說明智慧體本應怎麼做。
難以判斷的動作
有些動作僅憑截圖很難判斷。如果有 DOM 快照,就把它開啟:
web_agent_display:
  show_dom_snapshot: true
這會增加一個可摺疊面板顯示原始 HTML,在截圖含混時很有用,比如智慧體點在了幾個元素重疊的位置上。
第 7 步:為 VisualWebArena 配置
VisualWebArena 的軌跡帶有額外的視覺定位資訊。配置與前面類似,但會使用視覺定位覆蓋層:
agentic:
  enabled: true
  trace_converter: webarena         # same converter handles both
  display_type: web_agent

  web_agent_display:
    screenshot_max_width: 1000
    overlay:
      enabled: true
      click_marker: "crosshair"     # crosshair is better for precise grounding
      click_color: "#ef4444"
      click_radius: 15
      bounding_box: true            # show element bounding box if available
      bounding_box_color: "#f59e0b"
    filmstrip:
      enabled: true
      thumbnail_width: 180
第 8 步:分析結果
按步驟位置看動作正確性
網頁智慧體的錯誤往往集中在軌跡中的特定位置。看看它們出現在哪裡:
import pandas as pd
import json

annotations = []
with open("output/annotations.jsonl") as f:
    for line in f:
        annotations.append(json.loads(line))

# Collect per-step correctness by position
step_errors = {}
for ann in annotations:
    correctness = ann["annotations"].get("action_correctness", {})
    for step_idx, label in correctness.items():
        pos = int(step_idx)
        if pos not in step_errors:
            step_errors[pos] = {"Correct": 0, "Acceptable": 0, "Incorrect": 0, "Unnecessary": 0}
        step_errors[pos][label] += 1

# Print error rate by step position
print("Error rate by step position:")
for pos in sorted(step_errors.keys()):
    counts = step_errors[pos]
    total = sum(counts.values())
    error_rate = (counts["Incorrect"] + counts["Unnecessary"]) / total
    print(f"  Step {pos}: {error_rate:.1%} error rate ({total} observations)")
錯誤類型分佈
error_counts = {}
for ann in annotations:
    errors = ann["annotations"].get("action_error_type", {})
    for step_idx, error_list in errors.items():
        for error in error_list:
            error_counts[error] = error_counts.get(error, 0) + 1

print("\nError Type Distribution:")
for error, count in sorted(error_counts.items(), key=lambda x: -x[1]):
    print(f"  {error}: {count}")
按網站看成功率
# If traces span multiple websites
website_success = {}
for ann in annotations:
    # Assuming website info is in the original trace data
    success = ann["annotations"]["task_success"]
    website = ann.get("metadata", {}).get("website", "unknown")
    if website not in website_success:
        website_success[website] = {"Success": 0, "Partial Success": 0, "Failure": 0}
    website_success[website][success] += 1

for website, counts in website_success.items():
    total = sum(counts.values())
    rate = counts["Success"] / total
    print(f"{website}: {rate:.1%} success rate")
第 9 步:把評測規模化
多標註者與一致性
如果要寫論文,就給每條軌跡安排多位標註者:
annotation_task_config:
  total_annotations_per_instance: 3
  assignment_strategy: random
在任務成功標籤上計算標註者間一致性:
from sklearn.metrics import cohen_kappa_score
import pandas as pd

df = pd.read_parquet("output/parquet/annotations.parquet")
success = df[df["schema_name"] == "task_success"]
pivot = success.pivot(index="instance_id", columns="annotator", values="value")

# Pairwise kappa
annotators = pivot.columns.tolist()
for i in range(len(annotators)):
    for j in range(i + 1, len(annotators)):
        mask = pivot[[annotators[i], annotators[j]]].dropna()
        kappa = cohen_kappa_score(mask[annotators[i]], mask[annotators[j]])
        print(f"Kappa ({annotators[i]} vs {annotators[j]}): {kappa:.3f}")
與 Solo 模式結合
對於大規模評測(500 條以上軌跡),可以用 Solo 模式讓 LLM 處理簡單的軌跡:
solo_mode:
  enabled: true
  llm:
    endpoint_type: openai
    model: "gpt-4o"
    api_key: ${OPENAI_API_KEY}
  accuracy_threshold: 0.90

agentic:
  enabled: true
  trace_converter: webarena
  display_type: web_agent
人來評測困難的軌跡;LLM 處理那些一目瞭然的成功和明顯的失敗。
小結
要評測一個網頁瀏覽智慧體,你必須看到它究竟看到了什麼、做了什麼。Potato 的網頁智慧體展示提供:帶覆蓋層的完整截圖,標出點選目標、輸入框和滾動動作;便於通覽和跳轉的膠片條;追蹤導航路徑的位址列;配有網頁專用錯誤分類體系的逐步標註;以及在 WebArena、VisualWebArena 和原始瀏覽器錄製之間通用的同一套配置。
如果看不到智慧體實際點在哪裡,你就無法可靠地判斷那個動作是否正確,而這正是覆蓋層的用途。
延伸閱讀
- 智慧體標註文件 —— 完整配置參考
- 評測 AI 智慧體 —— 通用的智慧體評測指南
- Solo 模式 —— 用人與 LLM 協作把評測規模化
- Parquet 匯出 —— 匯出結果以便分析