Tutorials5 min read
감성 분석 작업 만들기
라디오 버튼, 툴팁, 키보드 단축키를 갖춘 완전한 감성 분류 작업을 구축하여 효율적으로 레이블을 지정합니다.
Potato Team
감성 분석은 가장 흔한 NLP 작업 중 하나이며, Potato에서 이를 위한 깔끔한 레이블을 수집하는 일은 간단합니다. 이 튜토리얼에서는 실제로 어노테이터 앞에 내놓을 수 있는 감성 어노테이션 인터페이스를 만듭니다. 레이블 작업을 더 빠르게 해 주는 키보드 단축키와 품질 검사도 함께 다룹니다.
프로젝트 개요
소셜 미디어 게시물을 어노테이션합니다. 인터페이스는 다음을 포함합니다.
- 3분류 감성 분류(긍정, 부정, 중립)
- 각 어노테이션에 대한 신뢰도 평가
- 선택적 텍스트 설명
- 속도를 위한 키보드 단축키
- 품질 관리 조치
전체 구성
다음은 전체 config.yaml입니다.
yaml
annotation_task_name: "Social Media Sentiment Analysis"

# Data configuration
data_files:
  - "data/tweets.json"

item_properties:
  id_key: id
  text_key: text

# Annotation interface
annotation_schemes:
  # Primary sentiment label
  - annotation_type: radio
    name: sentiment
    description: "What is the overall sentiment of this post?"
    labels:
      - name: Positive
        tooltip: "Expresses happiness, satisfaction, or approval"
        keyboard_shortcut: "1"
      - name: Negative
        tooltip: "Expresses sadness, frustration, or disapproval"
        keyboard_shortcut: "2"
      - name: Neutral
        tooltip: "Factual, objective, or lacks emotional content"
        keyboard_shortcut: "3"
    required: true

  # Confidence rating
  - annotation_type: likert
    name: confidence
    description: "How confident are you in your sentiment label?"
    size: 5
    min_label: "Not confident"
    max_label: "Very confident"
    required: true

  # Optional explanation
  - annotation_type: text
    name: explanation
    description: "Why did you choose this label? (Optional)"
    multiline: true
    required: false
    placeholder: "Explain your reasoning..."

# Guidelines
annotation_guidelines:
  title: "Sentiment Annotation Guidelines"
  content: |
    ## Your Task
    Classify the sentiment expressed in each social media post.

    ## Labels

    **Positive**: The author expresses positive emotions or opinions
    - Happiness, excitement, gratitude
    - Praise, recommendations, approval
    - Examples: "Love this!", "Best day ever!", "Highly recommend"

    **Negative**: The author expresses negative emotions or opinions
    - Anger, frustration, sadness
    - Complaints, criticism, disapproval
    - Examples: "Terrible service", "So disappointed", "Worst experience"

    **Neutral**: Factual or lacking clear sentiment
    - News, announcements, questions
    - Mixed or balanced opinions
    - Examples: "The store opens at 9am", "Has anyone tried this?"

    ## Tips
    - Focus on the author's sentiment, not the topic
    - Sarcasm should be labeled based on intended meaning
    - When unsure, lower your confidence rating

# User management
automatic_assignment:
  on: true
  sampling_strategy: random
  labels_per_instance: 1
  instance_per_annotator: 100
샘플 데이터 형식
data/tweets.json을 만듭니다.
json
{"id": "t001", "text": "Just got my new laptop and I'm absolutely loving it! Best purchase of the year! #happy"}
{"id": "t002", "text": "Waited 2 hours for customer service and they still couldn't help me. Never shopping here again."}
{"id": "t003", "text": "The new coffee shop on Main Street opens tomorrow at 7am."}
{"id": "t004", "text": "This movie was okay I guess. Some good parts, some boring parts."}
{"id": "t005", "text": "Can't believe how beautiful the sunset was tonight! Nature is amazing."}
작업 실행하기
어노테이션 서버를 시작합니다.
bash
potato start config.yamlhttp://localhost:8000으로 이동하여 로그인한 뒤 어노테이션을 시작합니다.
서버가 가동되면 어노테이터에게는 다음과 같은 화면이 보입니다.
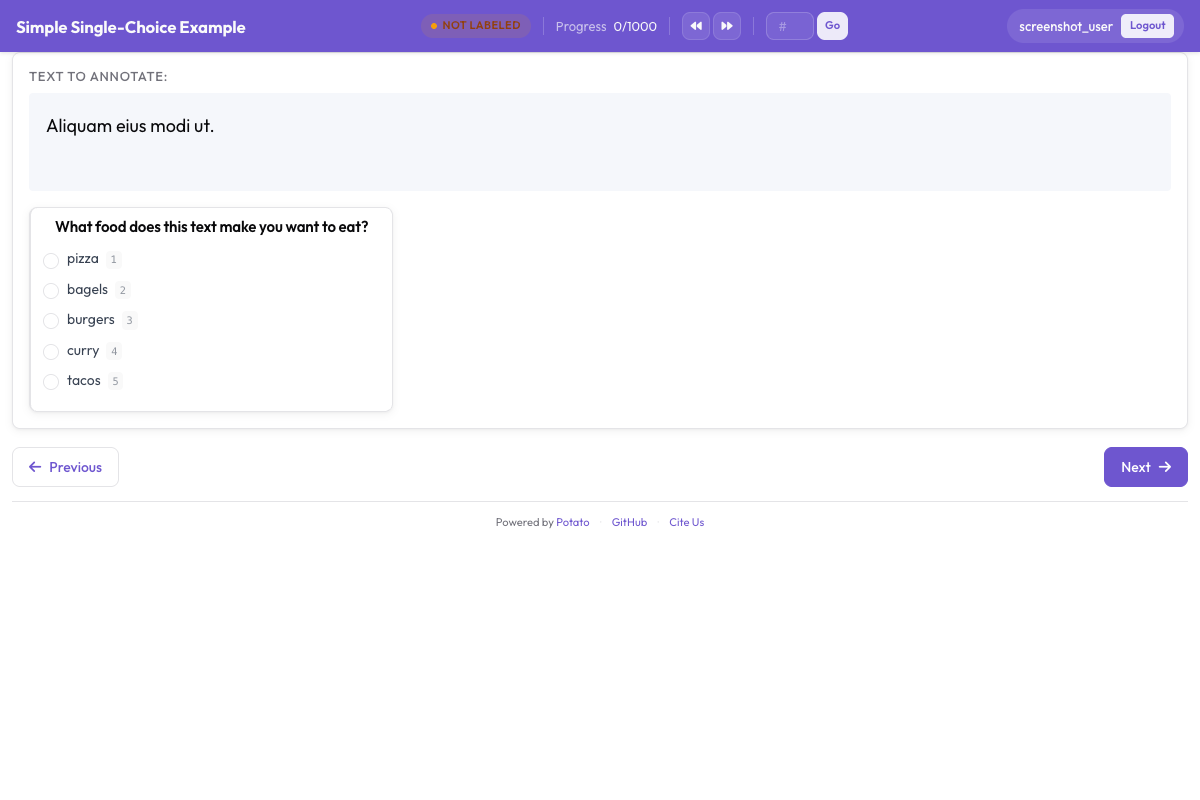 라디오 버튼 레이블, 신뢰도 척도, 선택적 설명 필드를 보여 주는 감성 분류 인터페이스
인터페이스 이해하기
주요 어노테이션 영역
인터페이스는 다음을 표시합니다.
- 어노테이션할 텍스트(URL, 멘션, 해시태그가 강조 표시됨)
- 툴팁이 있는 감성 라디오 버튼
- 신뢰도 Likert 척도
- 선택적 설명 텍스트 상자
키보드 작업 흐름
어노테이터가 리듬을 타게 되면 가장 빠른 작업 흐름은 다음과 같습니다.
- 텍스트를 읽습니다
- 감성에 대해
1,2또는3을 누릅니다 - 신뢰도 수준을 클릭합니다(또는 마우스를 사용합니다)
Enter를 눌러 제출합니다
진행 상황 추적
인터페이스는 다음을 표시합니다.
- 현재 진행 상황(예: "15 / 100")
- 예상 남은 시간
- 세션 통계
출력 형식
어노테이션은 annotations/username.jsonl에 저장됩니다.
json
{
  "id": "t001",
  "text": "Just got my new laptop and I'm absolutely loving it!...",
  "annotations": {
    "sentiment": "Positive",
    "confidence": 5,
    "explanation": "Clear expression of happiness with the purchase"
  },
  "annotator": "john_doe",
  "timestamp": "2026-01-15T14:30:00Z"
}
품질 관리 추가하기
주의 집중 검사
어노테이터의 주의 집중을 확인하기 위해 골드 스탠더드 항목을 추가합니다. 여기에서 사용한 radio 및 likert 스킴의 전체 옵션 모음은 원본 문서를 참조하십시오.
yaml
quality_control:
  attention_checks:
    enabled: true
    frequency: 10  # Every 10th item
    items:
      - text: "I am extremely happy and satisfied! This is the best!"
        expected:
          sentiment: "Positive"
      - text: "This is absolutely terrible and I hate it completely."
        expected:
          sentiment: "Negative"
어노테이터 간 일치도
연구 프로젝트의 경우 여러 어노테이션을 활성화합니다.
yaml
automatic_assignment:
  on: true
  sampling_strategy: random
  labels_per_instance: 3  # Each item annotated by 3 people
  instance_per_annotator: 50
결과 분석하기
어노테이션을 내보내고 분석합니다.
python
import json
from collections import Counter

# Load annotations
annotations = []
with open('annotations/annotator1.jsonl') as f:
    for line in f:
        annotations.append(json.loads(line))

# Sentiment distribution
sentiments = Counter(a['annotations']['sentiment'] for a in annotations)
print(f"Sentiment distribution: {dict(sentiments)}")

# Average confidence
confidences = [a['annotations']['confidence'] for a in annotations]
print(f"Average confidence: {sum(confidences)/len(confidences):.2f}")
다음 단계
더 많은 어노테이션 유형을 문서에서 살펴보십시오.