Annotating Web Browsing Agents: From WebArena Traces to Human Evaluation
How to use Potato's web agent trace display to evaluate autonomous web browsing agents, with step-by-step screenshots, SVG overlays, and per-step annotation schemas.
Web browsing agents work in a different modality than text-based agents. They navigate real pages, click buttons, fill forms, and scroll. To evaluate one, you need to see what the agent saw (the page state) and what it did (the action), ideally with an overlay marking exactly where it clicked.
Potato's web agent trace display is built for this. It renders full-page screenshots with SVG action overlays, gives you a filmstrip for quick navigation, and lets you rate each step for correctness. For the full configuration reference, see the source documentation.
This guide walks through evaluating WebArena traces, but the same approach works for VisualWebArena, raw browser recordings, and other web agent formats.
Prerequisites
pip install potato-annotationYou will need WebArena trace files, which usually come as screenshots plus a JSON action log. VisualWebArena uses a similar format, sometimes with extra visual grounding information.
Step 1: Understanding the WebArena trace format
A WebArena trace is one JSON file per episode, holding the task description, the action sequence, and screenshot paths. Here is a trimmed-down example.
Create data/web_traces.jsonl:
{
  "trace_id": "wa_001",
  "task": "Find the cheapest laptop on the electronics store and add it to the cart",
  "website": "shopping",
  "steps": [
    {
      "step": 0,
      "url": "http://shop.example.com/",
      "action_type": "click",
      "action_target": "Electronics category link",
      "element_id": "nav-electronics",
      "coordinates": [245, 82],
      "screenshot": "screenshots/wa_001_step_00.png",
      "dom_snapshot": "dom/wa_001_step_00.html"
    },
    {
      "step": 1,
      "url": "http://shop.example.com/electronics",
      "action_type": "click",
      "action_target": "Laptops subcategory",
      "element_id": "cat-laptops",
      "coordinates": [180, 310],
      "screenshot": "screenshots/wa_001_step_01.png"
    },
    {
      "step": 2,
      "url": "http://shop.example.com/electronics/laptops",
      "action_type": "click",
      "action_target": "Sort by: Price Low to High",
      "element_id": "sort-price-asc",
      "coordinates": [720, 155],
      "screenshot": "screenshots/wa_001_step_02.png"
    },
    {
      "step": 3,
      "url": "http://shop.example.com/electronics/laptops?sort=price_asc",
      "action_type": "click",
      "action_target": "First laptop: 'Budget Pro 14' - $349",
      "element_id": "product-101",
      "coordinates": [400, 380],
      "screenshot": "screenshots/wa_001_step_03.png"
    },
    {
      "step": 4,
      "url": "http://shop.example.com/product/101",
      "action_type": "click",
      "action_target": "Add to Cart button",
      "element_id": "add-to-cart-btn",
      "coordinates": [650, 520],
      "screenshot": "screenshots/wa_001_step_04.png"
    }
  ],
  "success": true,
  "final_screenshot": "screenshots/wa_001_final.png"
}
Each step carries a screenshot, the action taken, the target element, and click coordinates. Potato draws its visual overlays from this.
Step 2: Configure the project
Create config.yaml:
annotation_task_name: "WebArena Agent Evaluation"
task_dir: "."

data_files:
  - "data/web_traces.jsonl"

item_properties:
  id_key: trace_id
  text_key: task

# --- Agentic annotation with web display ---
agentic:
  enabled: true
  trace_converter: webarena
  display_type: web_agent

  web_agent_display:
    # Screenshot rendering
    screenshot_max_width: 900
    screenshot_quality: 85

    # SVG overlays
    overlay:
      enabled: true
      click_marker: "circle"
      click_color: "#ef4444"
      click_radius: 20
      type_highlight: "#3b82f6"
      scroll_indicator: true

    # Filmstrip navigation
    filmstrip:
      enabled: true
      thumbnail_width: 150
      show_action_labels: true

    # Additional display options
    show_url_bar: true
    show_action_description: true
    show_dom_snapshot: false

# --- Annotation Schemas ---
annotation_schemes:
  # Overall task evaluation
  - annotation_type: radio
    name: task_success
    description: "Did the agent complete the task successfully?"
    labels:
      - "Success"
      - "Partial Success"
      - "Failure"
    label_requirement:
      required: true

  - annotation_type: radio
    name: task_efficiency
    description: "Was the agent's navigation path efficient?"
    labels:
      - "Optimal path"
      - "Reasonable but not optimal"
      - "Inefficient (unnecessary steps)"
      - "Completely wrong direction"
    label_requirement:
      required: true

  # Per-step evaluation
  - annotation_type: per_turn_rating
    name: action_correctness
    target: agentic_steps
    description: "Was this action correct?"
    rating_type: radio
    labels:
      - "Correct"
      - "Acceptable (not optimal but progresses toward goal)"
      - "Incorrect"
      - "Unnecessary"

  - annotation_type: per_turn_rating
    name: action_error_type
    target: agentic_steps
    description: "What went wrong?"
    rating_type: multiselect
    labels:
      - "Wrong element clicked"
      - "Wrong page navigated to"
      - "Missed a closer/better option"
      - "Incorrect form input"
      - "Premature task completion"
      - "Unnecessary navigation"
      - "Failed to scroll to target"
      - "Interaction with wrong page section"
      - "Other"
    conditional:
      show_when:
        action_correctness: ["Incorrect", "Unnecessary"]

  - annotation_type: per_turn_rating
    name: action_notes
    target: agentic_steps
    description: "Notes on this step"
    rating_type: text
    label_requirement:
      required: false

output_annotation_dir: "output/"
export_annotation_format: "jsonl"

parquet_export:
  enabled: true
  output_dir: "output/parquet/"
Step 3: Understanding the web agent display
The web agent trace viewer renders screenshots with SVG overlays showing click targets and navigation paths:
The main screenshot view
The current step's screenshot shows at full width (up to 900px), with an SVG overlay on top:
- Red circle at the click coordinates, showing exactly where the agent clicked
- Blue highlight around text input fields where the agent typed
- Arrow indicator for scroll actions showing direction and magnitude
Below the screenshot, you see:
- URL bar showing the page URL at this step
- Action description (e.g., "Click on 'Electronics category link' at coordinates [245, 82]")
The filmstrip
A horizontal filmstrip at the bottom shows thumbnails of every screenshot, each with a small label for the action type (click, type, scroll). Click any thumbnail to jump to that step.
The filmstrip really earns its keep on long traces (10+ steps), where scrolling through the main view gets tedious.
Per-step annotation
The per-step annotation controls sit next to each screenshot. Rate the action, and if it's incorrect, pick the error type.
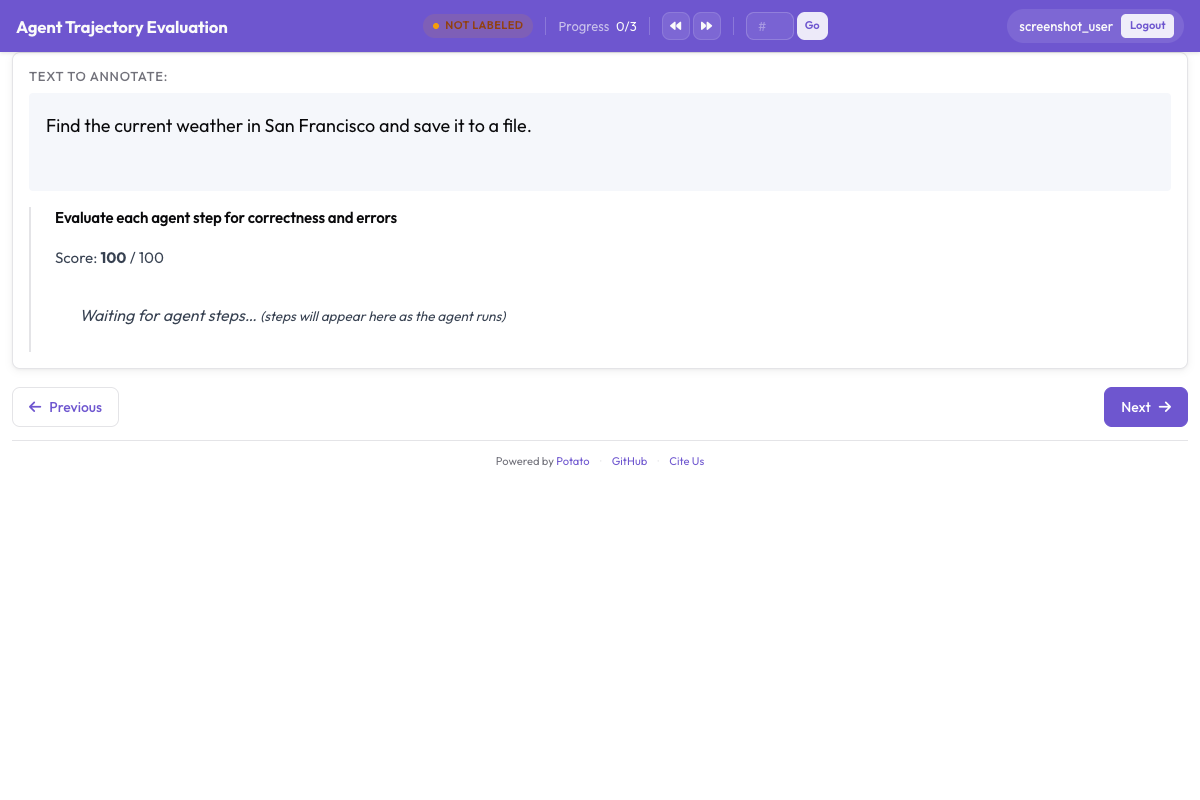
Step 4: The annotation workflow
A typical pass through a web agent trace:
-
Read the task description. Understand what the agent was supposed to accomplish.
-
Use the filmstrip for an overview. Quickly scan all screenshots to get a sense of the agent's trajectory before rating individual steps.
-
Walk through each step:
- Look at the screenshot to understand the page state
- Check the SVG overlay to see what the agent clicked
- Read the action description
- Rate the action as Correct, Acceptable, Incorrect, or Unnecessary
- If incorrect, select the error type(s)
-
Rate the overall trace. After reviewing all steps, rate task success and efficiency.
-
Submit and move to the next trace.
What to look for
Correct actions move the agent toward the goal in a sensible way: it clicked the right element, landed on the right page, or entered the right information.
Acceptable actions aren't optimal but still make progress. The agent browses to a category page instead of using the search bar, say. Slower, but it works.
Incorrect actions are mistakes: the wrong element, an irrelevant page, or wrong text in a form.
Unnecessary actions don't move the goal forward: clicking something and immediately going back, scrolling past the target, or wandering onto pages that don't matter.
Step 5: Error taxonomy
Potato ships an error taxonomy built for web agent actions. Here is how to apply each category:
| Error Type | Description | Example |
|---|---|---|
| Wrong element clicked | Agent clicked an incorrect UI element | Clicked "Tablets" instead of "Laptops" |
| Wrong page navigated to | Agent ended up on an irrelevant page | Navigated to "About Us" instead of product listing |
| Missed a closer/better option | A better action was available | Used category browsing instead of search bar |
| Incorrect form input | Agent entered wrong text in a form | Searched for "labtop" instead of "laptop" |
| Premature task completion | Agent declared success too early | Added wrong item to cart and stopped |
| Unnecessary navigation | Step does not contribute to the goal | Visited homepage between category pages |
| Failed to scroll to target | Target was below the viewport | Element was not visible; agent should have scrolled |
| Interaction with wrong page section | Correct page but wrong area | Clicked the header instead of the main content |
Step 6: Handling complex traces
Long traces (15+ steps)
On long traces, use the filmstrip to spot suspicious steps first. Look for:
- Steps where the URL changes unexpectedly (wrong navigation)
- Steps where the agent seems to go backward
- Repeated near-identical screenshots (agent stuck in a loop)
Then put your detailed annotation effort on those steps.
Failed traces
When the agent fails, find the first incorrect step. That's the most useful annotation for improving the agent. Mark it clearly and say what the agent should have done instead.
Ambiguous actions
Some actions are hard to judge from the screenshot alone. If the DOM snapshot is available, turn it on:
web_agent_display:
  show_dom_snapshot: true
That adds a collapsible panel with the raw HTML, which helps when the screenshot is ambiguous, like when the agent clicked a spot with several overlapping elements.
Step 7: Configuring for VisualWebArena
VisualWebArena traces carry extra visual grounding information. The config is similar but uses the visual grounding overlay:
agentic:
  enabled: true
  trace_converter: webarena         # same converter handles both
  display_type: web_agent

  web_agent_display:
    screenshot_max_width: 1000
    overlay:
      enabled: true
      click_marker: "crosshair"     # crosshair is better for precise grounding
      click_color: "#ef4444"
      click_radius: 15
      bounding_box: true            # show element bounding box if available
      bounding_box_color: "#f59e0b"
    filmstrip:
      enabled: true
      thumbnail_width: 180
Step 8: Analyzing results
Action correctness by step position
Web agent errors tend to cluster at particular points in the trace. Check where they occur:
import pandas as pd
import json

annotations = []
with open("output/annotations.jsonl") as f:
    for line in f:
        annotations.append(json.loads(line))

# Collect per-step correctness by position
step_errors = {}
for ann in annotations:
    correctness = ann["annotations"].get("action_correctness", {})
    for step_idx, label in correctness.items():
        pos = int(step_idx)
        if pos not in step_errors:
            step_errors[pos] = {"Correct": 0, "Acceptable": 0, "Incorrect": 0, "Unnecessary": 0}
        step_errors[pos][label] += 1

# Print error rate by step position
print("Error rate by step position:")
for pos in sorted(step_errors.keys()):
    counts = step_errors[pos]
    total = sum(counts.values())
    error_rate = (counts["Incorrect"] + counts["Unnecessary"]) / total
    print(f"  Step {pos}: {error_rate:.1%} error rate ({total} observations)")
Error type distribution
error_counts = {}
for ann in annotations:
    errors = ann["annotations"].get("action_error_type", {})
    for step_idx, error_list in errors.items():
        for error in error_list:
            error_counts[error] = error_counts.get(error, 0) + 1

print("\nError Type Distribution:")
for error, count in sorted(error_counts.items(), key=lambda x: -x[1]):
    print(f"  {error}: {count}")
Success rate by website
# If traces span multiple websites
website_success = {}
for ann in annotations:
    # Assuming website info is in the original trace data
    success = ann["annotations"]["task_success"]
    website = ann.get("metadata", {}).get("website", "unknown")
    if website not in website_success:
        website_success[website] = {"Success": 0, "Partial Success": 0, "Failure": 0}
    website_success[website][success] += 1

for website, counts in website_success.items():
    total = sum(counts.values())
    rate = counts["Success"] / total
    print(f"{website}: {rate:.1%} success rate")
Step 9: Scaling the evaluation
Multiple annotators with agreement
For research papers, put several annotators on each trace:
annotation_task_config:
  total_annotations_per_instance: 3
  assignment_strategy: random
Compute inter-annotator agreement on the task success label:
from sklearn.metrics import cohen_kappa_score
import pandas as pd

df = pd.read_parquet("output/parquet/annotations.parquet")
success = df[df["schema_name"] == "task_success"]
pivot = success.pivot(index="instance_id", columns="annotator", values="value")

# Pairwise kappa
annotators = pivot.columns.tolist()
for i in range(len(annotators)):
    for j in range(i + 1, len(annotators)):
        mask = pivot[[annotators[i], annotators[j]]].dropna()
        kappa = cohen_kappa_score(mask[annotators[i]], mask[annotators[j]])
        print(f"Kappa ({annotators[i]} vs {annotators[j]}): {kappa:.3f}")
Combining with Solo Mode
For big evaluations (500+ traces), use Solo Mode to let an LLM take the easy traces:
solo_mode:
  enabled: true
  llm:
    endpoint_type: openai
    model: "gpt-4o"
    api_key: ${OPENAI_API_KEY}
  accuracy_threshold: 0.90

agentic:
  enabled: true
  trace_converter: webarena
  display_type: web_agent
The human evaluates the hard traces; the LLM handles straightforward successes and obvious failures.
Summary
To evaluate a web browsing agent, you have to see exactly what it saw and did. Potato's web agent display gives you full screenshots with overlays marking click targets, input fields, and scroll actions; a filmstrip for quick overview and jumping between steps; a URL bar tracking the navigation path; per-step annotation with a web-specific error taxonomy; and the same setup across WebArena, VisualWebArena, and raw browser recordings.
The overlay is what makes it work. Without seeing where the agent actually clicked, you can't reliably judge whether the action was right.
Further Reading
- Agentic Annotation Documentation -- full configuration reference
- Evaluating AI Agents -- general agent evaluation guide
- Solo Mode -- scale up evaluation with human-LLM collaboration
- Parquet Export -- export results for analysis