Bildklassifikation mit Potato
So richtest du Bildklassifikation in Potato ein: Vorschaubilder, Zoom, Schemata mit Mehrfachauswahl und Tastenkürzel für schnelles Labeln großer Bildmengen.
Fast jedes Computer-Vision-Projekt braucht irgendwann einen Stapel gelabelter Bilder, und jemand muss das Labeln übernehmen. Ob du Produktfotos sortierst, Inhalte prüfst oder medizinische Aufnahmen klassifizierst: Potato kümmert sich um die Oberfläche, damit du dich auf die Labels konzentrieren kannst. Dieses Tutorial zeigt die Varianten, die du wirklich brauchst: Klassifikation mit einem Label, Klassifikation mit mehreren Labels, verschachtelte Kategorien und die Prüfungen, die eine Bildaufgabe ehrlich halten.
Einfache Bildklassifikation
Wir fangen mit einer Aufgabe an, bei der genau ein Label vergeben wird.
Konfiguration
annotation_task_name: "Product Image Classification"

# Image data
data_files:
  - data/products.json

item_properties:
  id_key: product_id
  text_key: image_url

# Classification labels
annotation_schemes:
  - annotation_type: image_annotation
    name: category
    description: "What type of product is shown?"
    labels:
      - Electronics
      - Clothing
      - Home & Garden
      - Sports & Outdoors
      - Books & Media
      - Other
Die Oberfläche zur Bildklassifikation zeigt das Bild neben den Kategorielabels:
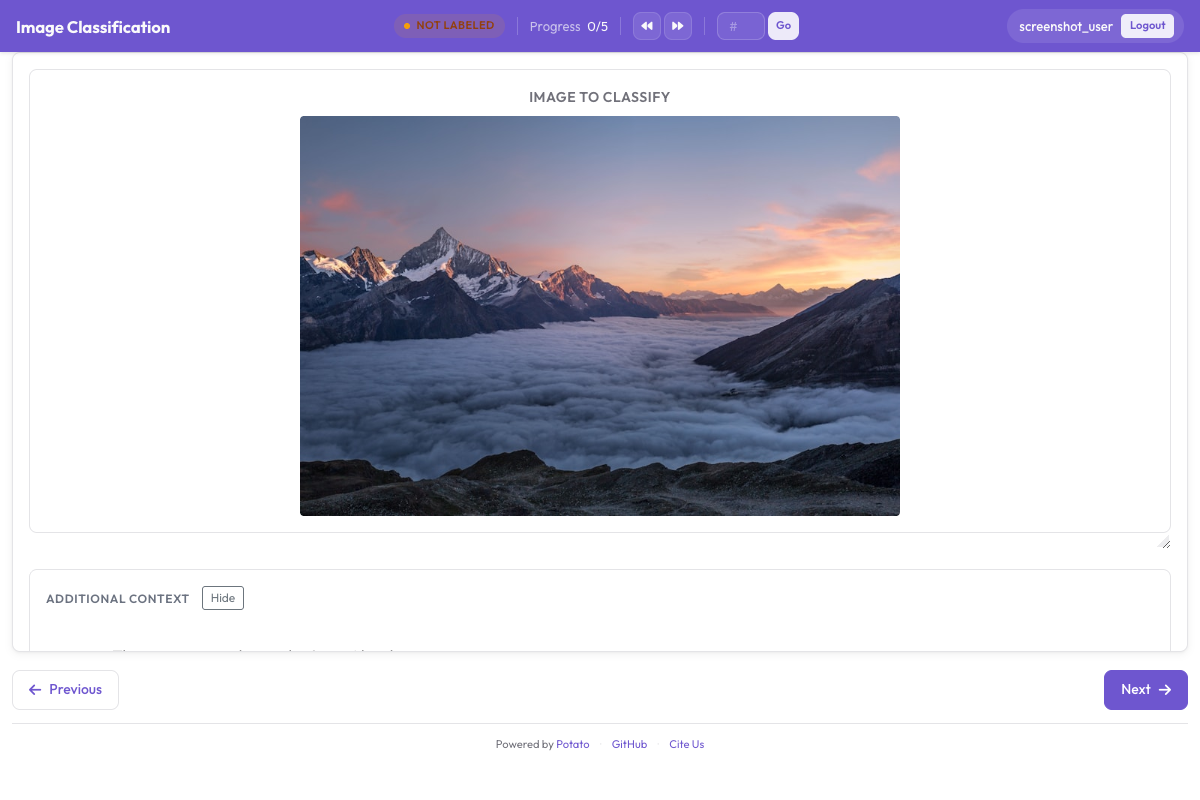 Die Oberfläche zur Bildannotation mit einem Produktfoto, Klassifikationslabels und Tastenkürzeln
Datenformat
Lege data/products.json an:
{"product_id": "P001", "image_url": "/images/products/laptop.jpg"}
{"product_id": "P002", "image_url": "/images/products/tshirt.jpg"}
{"product_id": "P003", "image_url": "/images/products/garden_tools.jpg"}
{"product_id": "P004", "image_url": "https://example.com/images/basketball.jpg"}
Bilder können lokale Pfade oder URLs sein.
Klassifikation mit mehreren Labels
Für Bilder, die in mehrere Kategorien fallen:
annotation_schemes:
  - annotation_type: multiselect
    name: attributes
    description: "Select all attributes that apply to this image"
    labels:
      - Contains people
      - Outdoor scene
      - Indoor scene
      - Contains text
      - Product photo
      - Lifestyle photo
      - Close-up shot
      - Wide angle
Hierarchische Kategorien
Bei umfangreichen Taxonomien arbeitest du mit verschachtelten Labels:
annotation_schemes:
  - annotation_type: radio
    name: main_category
    description: "Primary category"
    labels:
      - Apparel
      - Electronics
      - Home

  - annotation_type: radio
    name: subcategory
    description: "Subcategory"
Bildqualität bewerten
Ergänze die Klassifikation um eine Qualitätsprüfung:
annotation_schemes:
  - annotation_type: radio
    name: category
    description: "Product category"
    labels: [Electronics, Clothing, Home, Other]

  - annotation_type: radio
    name: image_quality
    description: "Is this image suitable for the product catalog?"
    labels:
      - name: Approved
        description: "Clear, well-lit, product is visible"
      - name: Needs review
        description: "Minor issues but potentially usable"
      - name: Rejected
        description: "Poor quality, wrong product, or inappropriate"

  - annotation_type: multiselect
    name: quality_issues
    description: "If not approved, what issues are present?"
    labels:
      - Blurry or out of focus
      - Poor lighting
      - Wrong product shown
      - Watermark or text overlay
      - Inappropriate content
      - Multiple products in frame
Weitere Einstellungen zur Bilddarstellung
Wenn du die Bilddarstellung genauer anpassen willst, konfigurierst du den Typ image_annotation in deinen Annotationsschemata und ergänzt bei Bedarf eigenes CSS.
Vollständiges Beispiel
Eine Konfiguration, wie sie im Produktivbetrieb aussehen kann:
annotation_task_name: "E-commerce Image Classification"

data_files:
  - data/images.json

item_properties:
  id_key: sku
  text_key: image_path

annotation_schemes:
  - annotation_type: image_annotation
    name: primary_category
    description: "Select the main product category"
    labels:
      - Electronics
      - Clothing & Accessories
      - Home & Living
      - Beauty & Personal Care
      - Sports & Fitness
      - Toys & Games
      - Other

  - annotation_type: multiselect
    name: image_attributes
    description: "Select all that apply"
    labels:
      - White background
      - Lifestyle shot
      - Multiple angles
      - Model wearing/using
      - Size reference included
      - Brand visible
    label_requirement:
      required: false

  - annotation_type: radio
    name: listing_ready
    description: "Is this image ready for product listing?"
    labels:
      - Yes - Ready to publish
      - No - Needs editing
      - No - Reshoot required
    label_requirement:
      required: true

annotation_guidelines:
  title: "Image Classification Guidelines"
  content: |
    ## Category Selection
    Choose the most specific category that fits the product.

    ## Image Quality
    - "Ready to publish": Clear, professional, meets standards
    - "Needs editing": Good photo but needs cropping/color correction
    - "Reshoot required": Fundamentally unsuitable
Hinweise zur Bildannotation
Farben und Helligkeit fallen von Monitor zu Monitor unterschiedlich aus. Wo das eine Rolle spielt, achte darauf, dass die Annotierenden an halbwegs kalibrierten Bildschirmen sitzen. Pack Beispielbilder in deine Richtlinien, statt Kategorien in Worten zu beschreiben; ein Bild klärt mehr Streitfälle als ein Absatz. Schreib auf, was mit den uneindeutigen Bildern passieren soll, denn uneindeutige Bilder wird es geben. Und lass das Team hin und wieder denselben Stapel labeln und vergleiche die Ergebnisse, damit du ein Abdriften früh bemerkst.
Details zur Umsetzung stehen in der Dokumentation zur Bildannotation.
Nächste Schritte
- Lerne die Annotation mit Bounding Boxes für die Objekterkennung
- Richte Polygon-Annotation für die Segmentierung ein
- Sieh dir die Videoannotation für zeitbezogene Aufgaben an
Die vollständige Dokumentation zur Bildannotation findest du unter Bildannotation.