अपना पहला NER एनोटेशन कार्य बनाना
Potato में named entity recognition कार्य बनाने की चरण-दर-चरण मार्गदर्शिका: span एनोटेशन कॉन्फ़िग, लेबल के रंग, आपस में ओवरलैप करते span, कीबोर्ड शॉर्टकट, और CoNLL निर्यात।
Named Entity Recognition ऐसा काम है जो ज़्यादातर NLP टीमों के सामने देर-सबेर आ ही जाता है। यह ट्यूटोरियल शून्य से एक चलने लायक NER एनोटेशन इंटरफ़ेस बनाता है, जिसमें span हाइलाइट करना, कीबोर्ड शॉर्टकट और entity प्रकार चुनना शामिल है। इसके पीछे के span कॉन्फ़िगरेशन विकल्पों के लिए टेक्स्ट एनोटेशन दस्तावेज़ देखें।
हम क्या बना रहे हैं
इस ट्यूटोरियल के आख़िर तक आपके पास ऐसा एनोटेशन इंटरफ़ेस होगा जिसमें एनोटेटर:
- क्लिक करके और खींचकर पाठ के span हाइलाइट कर सकें
- entity प्रकार असाइन कर सकें (व्यक्ति, संस्था, स्थान वग़ैरह)
- तेज़ी से एनोटेट करने के लिए कीबोर्ड शॉर्टकट इस्तेमाल कर सकें
- पहले किए गए एनोटेशन बदल या हटा सकें
पहले से ज़रूरी चीज़ें
- Potato इंस्टॉल हो (
pip install potato-annotation) - YAML से थोड़ी-बहुत जान-पहचान
- एनोटेट करने के लिए नमूना पाठ डेटा
क़दम 1: annotation scheme कॉन्फ़िगर कीजिए
एक config.yaml फ़ाइल बनाइए:
annotation_task_name: "Named Entity Recognition"

data_files:
  - data/sentences.json

item_properties:
  id_key: id
  text_key: text

# Enable span annotation
annotation_schemes:
  - annotation_type: span
    name: entities
    description: "Highlight and label named entities in the text"
    labels:
      - name: PER
        description: "Person names"
        color: "#FF6B6B"
        keyboard_shortcut: "p"
      - name: ORG
        description: "Organizations"
        color: "#4ECDC4"
        keyboard_shortcut: "o"
      - name: LOC
        description: "Locations"
        color: "#45B7D1"
        keyboard_shortcut: "l"
      - name: DATE
        description: "Dates and times"
        color: "#96CEB4"
        keyboard_shortcut: "d"
      - name: MISC
        description: "Miscellaneous entities"
        color: "#FFEAA7"
        keyboard_shortcut: "m"
क़दम 2: अपना डेटा तैयार कीजिए
अपने पाठ डेटा के साथ data/sentences.json बनाइए:
{"id": "1", "text": "Apple Inc. announced that CEO Tim Cook will visit Paris next Tuesday."}
{"id": "2", "text": "The United Nations headquarters in New York hosted delegates from Japan."}
{"id": "3", "text": "Dr. Sarah Johnson published her research at Stanford University in March 2024."}
क़दम 3: एनोटेशन दिशानिर्देश जोड़िए
साफ़ दिशानिर्देशों से अपने एनोटेटरों की मदद कीजिए:
# Add to config.yaml
annotation_guidelines:
  title: "NER Annotation Guidelines"
  content: |
    ## Entity Types

    **PER (Person)**: Names of people, including fictional characters
    - Examples: "John Smith", "Dr. Johnson", "Batman"

    **ORG (Organization)**: Companies, institutions, agencies
    - Examples: "Apple Inc.", "United Nations", "Stanford University"

    **LOC (Location)**: Places, including countries, cities, landmarks
    - Examples: "Paris", "New York", "Mount Everest"

    **DATE**: Dates, times, and temporal expressions
    - Examples: "Tuesday", "March 2024", "next week"

    **MISC**: Other named entities not fitting above categories
    - Examples: "Nobel Prize", "iPhone", "COVID-19"

    ## Annotation Rules
    1. Include titles (Dr., Mr.) with person names
    2. For nested entities, annotate the largest meaningful span
    3. Don't include articles (the, a) in entity spans
span एनोटेशन इंटरफ़ेस एनोटेटरों को पाठ हाइलाइट करके entity लेबल लगाने देता है:
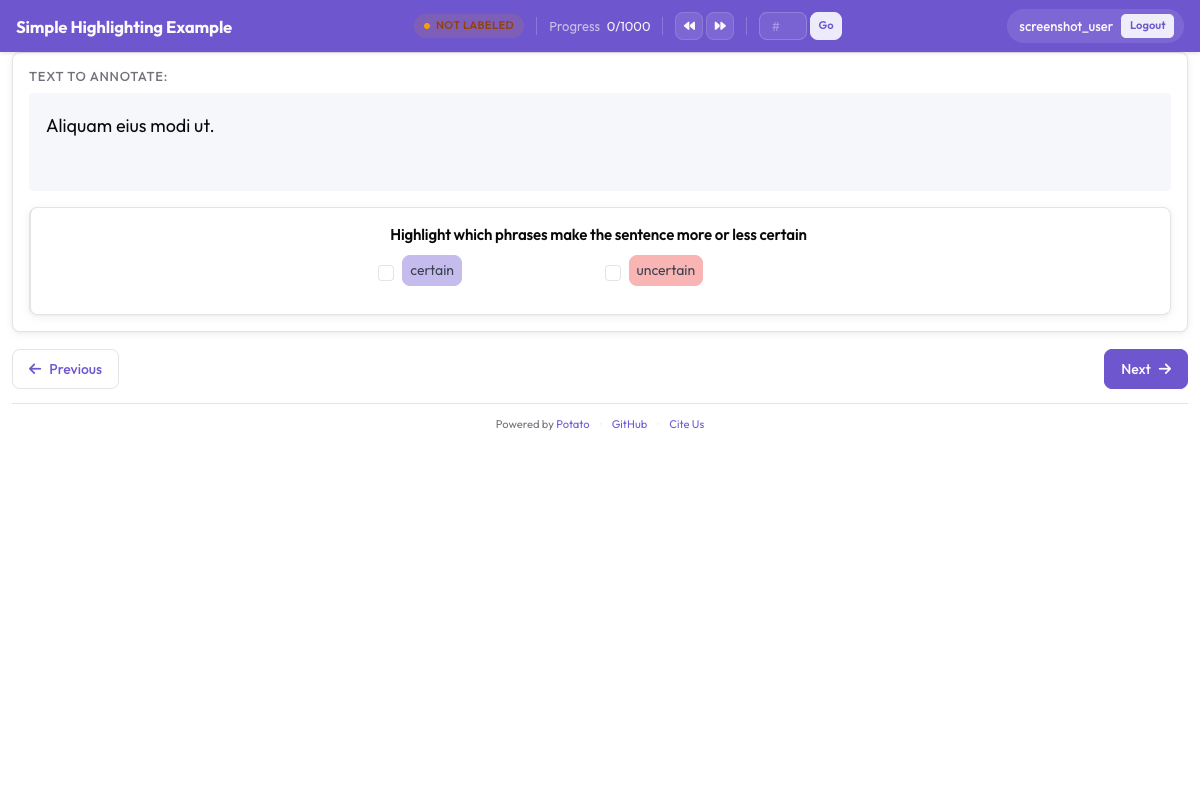 एनोटेटर पाठ के span हाइलाइट करते हैं और PER, ORG, LOC तथा DATE जैसे entity लेबल लगाते हैं
क़दम 4: एनोटेट करना शुरू कीजिए
अपना NER कार्य चलाइए:
potato start config.yamlएनोटेशन का तरीक़ा
- पाठ चुनिए: क्लिक करके खींचिए और कोई span हाइलाइट कीजिए
- entity प्रकार चुनिए: किसी लेबल बटन पर क्लिक कीजिए या कीबोर्ड शॉर्टकट दबाइए
- एनोटेशन बदलिए: पहले से मौजूद किसी span पर क्लिक करके उसे बदलिए या हटाइए
- सबमिट: काम पूरा होने पर Enter दबाइए या Submit पर क्लिक कीजिए
क़दम 5: आउटपुट देखिए
एनोटेशन JSONL प्रारूप में सहेजे जाते हैं:
{
  "id": "1",
  "text": "Apple Inc. announced that CEO Tim Cook will visit Paris next Tuesday.",
  "annotations": {
    "entities": [
      {"start": 0, "end": 10, "label": "ORG", "text": "Apple Inc."},
      {"start": 30, "end": 38, "label": "PER", "text": "Tim Cook"},
      {"start": 50, "end": 55, "label": "LOC", "text": "Paris"},
      {"start": 61, "end": 73, "label": "DATE", "text": "next Tuesday"}
    ]
  }
}
बेहतर NER एनोटेशन के सुझाव
NER में ज़्यादातर असहमति धुँधले दिशानिर्देशों से आती है, इसलिए आपके नियम जितने साफ़ होंगे, एनोटेटर एक ही span पर उतनी ही कम बहस करेंगे। मुश्किल किनारे के मामले लोगों को शुरू करने के बाद नहीं, पहले समझाइए, और कठिन उदाहरणों पर टीम के साथ बात करते रहिए। जब एनोटेटरों के बीच सहमति गिरती है, तो आम तौर पर यही पहला संकेत होता है कि कोई दिशानिर्देश कसने की ज़रूरत है।
अगले क़दम
- एनोटेटरों को तैयार करने के लिए प्रशिक्षण चरण जोड़िए
- अतिरेक के लिए कई एनोटेटर सेट कीजिए
- मॉडल प्रशिक्षण के लिए Hugging Face प्रारूप में निर्यात कीजिए
मदद चाहिए? ज़्यादा जानकारी के लिए हमारे span एनोटेशन दस्तावेज़ देखिए।