Creating a Sentiment Analysis Task
Build a complete sentiment classification task with radio buttons, tooltips, and keyboard shortcuts for efficient labeling.
Sentiment analysis is one of the most common NLP tasks, and collecting clean labels for it in Potato is straightforward. This tutorial builds a sentiment annotation interface you can actually put in front of annotators, with the keyboard shortcuts and quality checks that make labeling go faster.
Project Overview
We're annotating social media posts. The interface covers:
- Three-way sentiment classification (Positive, Negative, Neutral)
- Confidence ratings for each annotation
- Optional text explanations
- Keyboard shortcuts for speed
- Quality control measures
Complete Configuration
Here's the full config.yaml:
annotation_task_name: "Social Media Sentiment Analysis"

# Data configuration
data_files:
  - "data/tweets.json"

item_properties:
  id_key: id
  text_key: text

# Annotation interface
annotation_schemes:
  # Primary sentiment label
  - annotation_type: radio
    name: sentiment
    description: "What is the overall sentiment of this post?"
    labels:
      - name: Positive
        tooltip: "Expresses happiness, satisfaction, or approval"
        keyboard_shortcut: "1"
      - name: Negative
        tooltip: "Expresses sadness, frustration, or disapproval"
        keyboard_shortcut: "2"
      - name: Neutral
        tooltip: "Factual, objective, or lacks emotional content"
        keyboard_shortcut: "3"
    required: true

  # Confidence rating
  - annotation_type: likert
    name: confidence
    description: "How confident are you in your sentiment label?"
    size: 5
    min_label: "Not confident"
    max_label: "Very confident"
    required: true

  # Optional explanation
  - annotation_type: text
    name: explanation
    description: "Why did you choose this label? (Optional)"
    multiline: true
    required: false
    placeholder: "Explain your reasoning..."

# Guidelines
annotation_guidelines:
  title: "Sentiment Annotation Guidelines"
  content: |
    ## Your Task
    Classify the sentiment expressed in each social media post.

    ## Labels

    **Positive**: The author expresses positive emotions or opinions
    - Happiness, excitement, gratitude
    - Praise, recommendations, approval
    - Examples: "Love this!", "Best day ever!", "Highly recommend"

    **Negative**: The author expresses negative emotions or opinions
    - Anger, frustration, sadness
    - Complaints, criticism, disapproval
    - Examples: "Terrible service", "So disappointed", "Worst experience"

    **Neutral**: Factual or lacking clear sentiment
    - News, announcements, questions
    - Mixed or balanced opinions
    - Examples: "The store opens at 9am", "Has anyone tried this?"

    ## Tips
    - Focus on the author's sentiment, not the topic
    - Sarcasm should be labeled based on intended meaning
    - When unsure, lower your confidence rating

# User management
automatic_assignment:
  on: true
  sampling_strategy: random
  labels_per_instance: 1
  instance_per_annotator: 100
Sample Data Format
Create data/tweets.json:
{"id": "t001", "text": "Just got my new laptop and I'm absolutely loving it! Best purchase of the year! #happy"}
{"id": "t002", "text": "Waited 2 hours for customer service and they still couldn't help me. Never shopping here again."}
{"id": "t003", "text": "The new coffee shop on Main Street opens tomorrow at 7am."}
{"id": "t004", "text": "This movie was okay I guess. Some good parts, some boring parts."}
{"id": "t005", "text": "Can't believe how beautiful the sunset was tonight! Nature is amazing."}
Running the Task
Start the annotation server:
potato start config.yamlNavigate to http://localhost:8000 and log in to begin annotating.
Here's what your annotators see once the server is up:
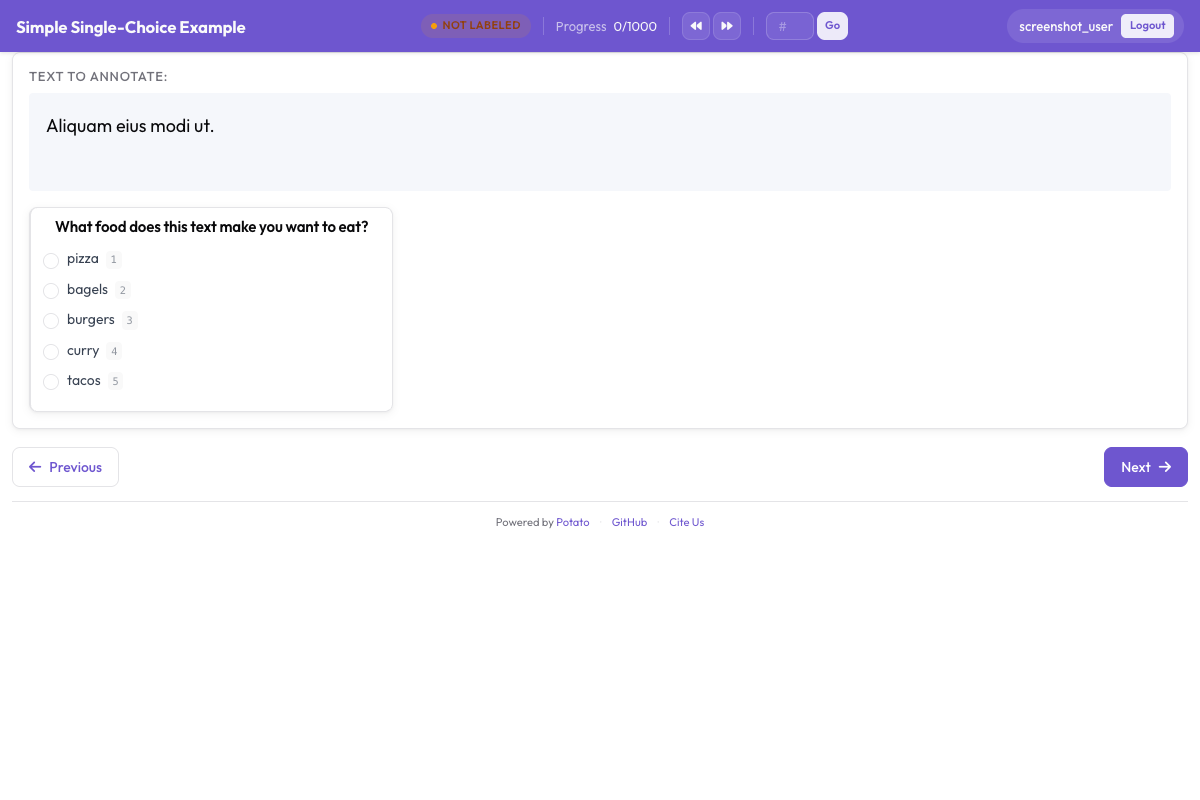 The sentiment classification interface showing radio button labels, confidence scale, and optional explanation field
Understanding the Interface
Main Annotation Area
The interface displays:
- The text to annotate (with highlighted URLs, mentions, hashtags)
- Sentiment radio buttons with tooltips
- Confidence Likert scale
- Optional explanation text box
Keyboard workflow
Once annotators get into a rhythm, the fastest loop is:
- Read the text
- Press
1,2, or3for sentiment - Click confidence level (or use mouse)
- Press
Enterto submit
Progress Tracking
The interface shows:
- Current progress (e.g., "15 / 100")
- Estimated time remaining
- Session statistics
Output Format
Annotations are saved to annotations/username.jsonl:
{
  "id": "t001",
  "text": "Just got my new laptop and I'm absolutely loving it!...",
  "annotations": {
    "sentiment": "Positive",
    "confidence": 5,
    "explanation": "Clear expression of happiness with the purchase"
  },
  "annotator": "john_doe",
  "timestamp": "2026-01-15T14:30:00Z"
}
Adding quality control
Attention checks
Add gold-standard items to verify annotator attention. For the full set of options behind the radio and likert schemes used here, see the source documentation.
quality_control:
  attention_checks:
    enabled: true
    frequency: 10  # Every 10th item
    items:
      - text: "I am extremely happy and satisfied! This is the best!"
        expected:
          sentiment: "Positive"
      - text: "This is absolutely terrible and I hate it completely."
        expected:
          sentiment: "Negative"
Inter-Annotator Agreement
For research projects, enable multiple annotations:
automatic_assignment:
  on: true
  sampling_strategy: random
  labels_per_instance: 3  # Each item annotated by 3 people
  instance_per_annotator: 50
Analyzing Results
Export and analyze your annotations:
import json
from collections import Counter

# Load annotations
annotations = []
with open('annotations/annotator1.jsonl') as f:
    for line in f:
        annotations.append(json.loads(line))

# Sentiment distribution
sentiments = Counter(a['annotations']['sentiment'] for a in annotations)
print(f"Sentiment distribution: {dict(sentiments)}")

# Average confidence
confidences = [a['annotations']['confidence'] for a in annotations]
print(f"Average confidence: {sum(confidences)/len(confidences):.2f}")
Next Steps
- Set up crowdsourcing for large-scale annotation
- Add AI suggestions to speed up labeling
- Implement active learning to prioritize difficult cases
Explore more annotation types in our documentation.